Managing ADX Data with .NET Core and Azure B2C
Azure Data Explorer (or ADX to those in the fan club), is a very powerful and scalable data solution for analytics and timeseries data. Capable of handling more records than you can fit on a Zip drive, it’s a great option for retaining and working with analytics from IoT and other devices. Often, developers need to work with this data outside of the Azure portal. In this article, I’ll show you how you can build a .NET Core Web App to manage ADX data. And integrate it with Azure B2C. And a custom API. And some other .NET Core stuff, because why not?
I recently had a client that was looking to build a custom web application to work with Azure Data Explorer (ADX) data. While managing this data is very easy from within the Azure portal, this solution called for a self-contained application to manage within the user’s environment. I searched for how to do this in a web application but didn’t find many resources. So, to help you on your development journey (and me remember the stuff I do), I decided to create a POC for the project.
Just to make it more fun, I added a bunch of other components to the solution (Azure B2C integration, Dependency Injection, Caching, and more!) so I’d have a complete solution blending all the concepts. For the process, I borrowed a bit from other repos and documentation along the way. Let me show you how I did it…
Get the Code
For this project, I created a GitHub repo of the entire solution. Within the article, click on files to link directly to the repo.
AzureADXNETCoreWebApp GitHub Repo
Key Project Aspects
The following are key aspects of the project:
- .NET Core 3.1
- Azure B2C authentication
- Passes Azure B2C User OID value to an API for ADX data filtering
- Azure Data Explorer (ADX) integration
- Sample ADX data ingestion
- Kusto .NET SDK integration
- MemoryCacheintegration
- Dependency Injection
- Options pattern in ASP.NET Core****
Generating ADX Data
Because my main goal was to work with ADX data, I needed some to start with. In many cases, this could be IoT data, log analytics, or really anything that you want to track. I found a helpful article in the ADX Documentation to ingest sample data.
Ingest sample data into Azure Data Explorer | Microsoft Docs
This ingested some very exciting storm event data from 2007. This would serve as my sample data for the rest of the project.

Using the Azure B2C Template
Next, I needed a web app to show/edit the data. I knew my client would also eventually need to authenticate with Azure B2C, so I opted for one of the sample projects in the Azure Samples – Active Directory ASPNET Core OpenID Connect project. Specifically, I selected the 1-5-B2C project, as this is the type of authentication I needed.
Azure-Samples/active-directory-aspnetcore-webapp-openidconnect-v2
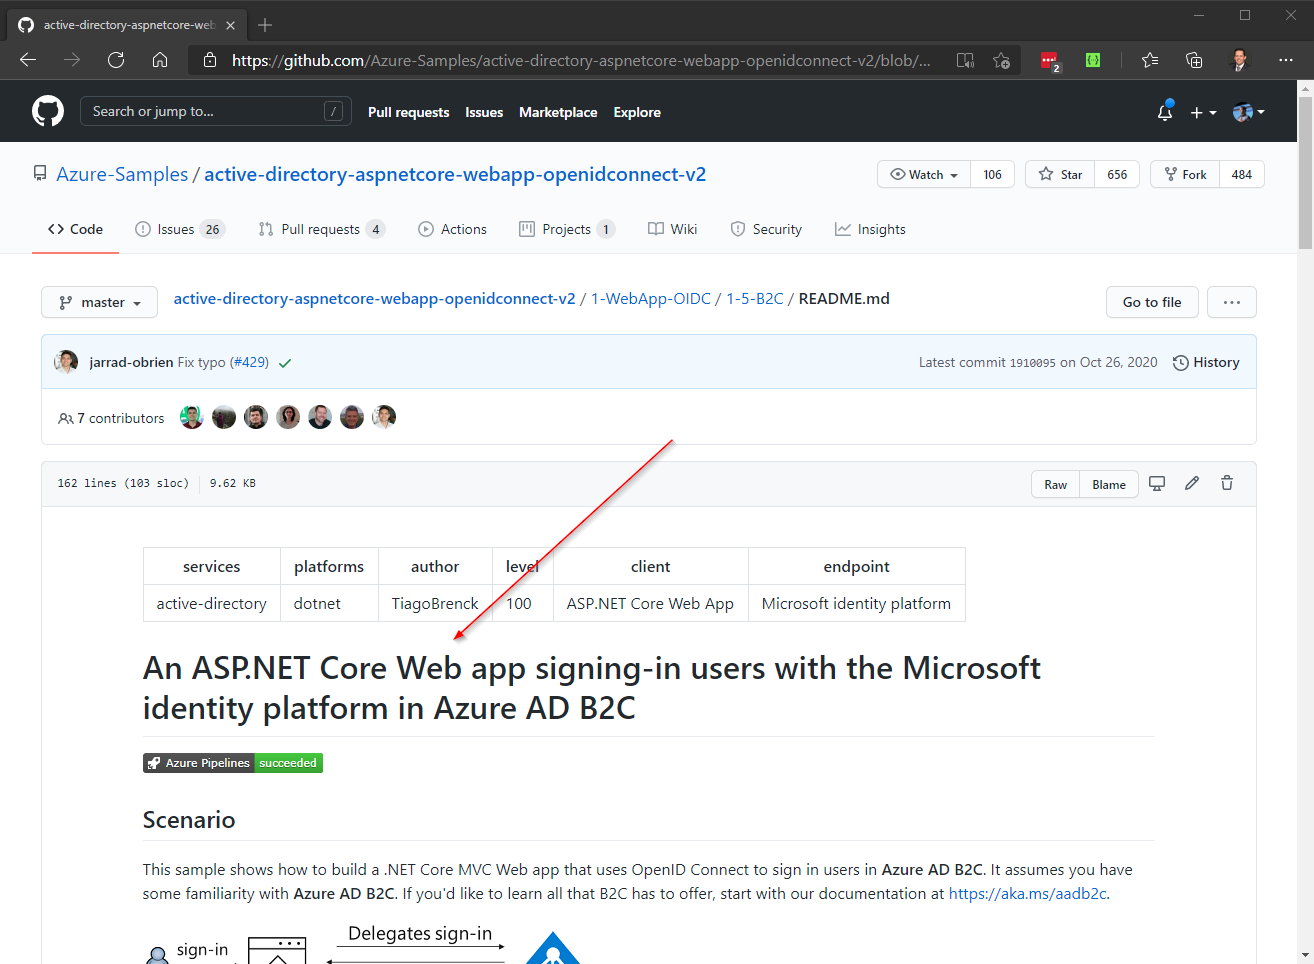
Once I downloaded the code, I followed the project instructions to connect it to my Azure B2C tenant.
NOTE
There are a lot of other templates in this repo, with several types of integrations detailed.
Adding Kusto SDK
With the Azure B2C authentication in place, I was ready to add my ADX code. The Kusto .NET SDK contains several libraries to allow for the viewing and management of ADX data.
About Kusto .NET SDK - Azure Data Explorer | Microsoft Docs****
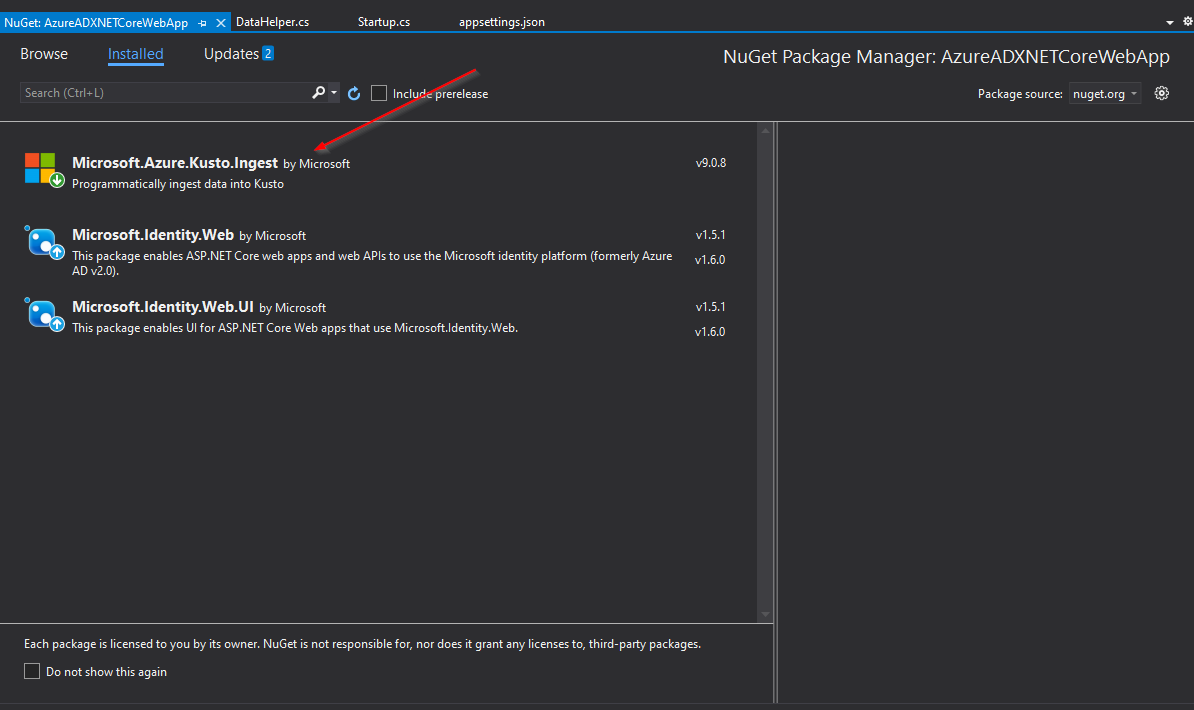
Specifically, the Microsoft.Kusto.Data and Microsoft.Kusto.Ingest interfaces were key to my project. Depending on your requirements, you may need additional components.
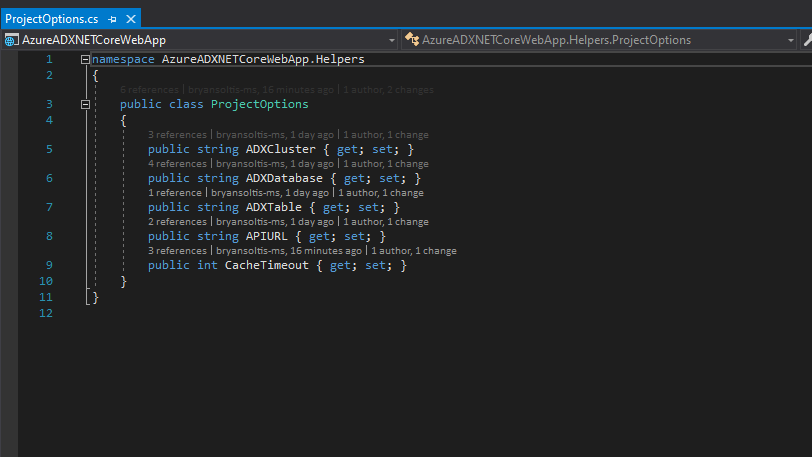
Configuration and Business Logic
With the SDK installed, I was ready to add my functionality. In my project, I created a new section within my appsettings.json file for my ADX configuration values, along with a ProjectOptions class.
appsettings.json****
...
  "ProjectOptions": {
    "ADXCluster": "[Azure ADX Cluster Name]",
    "ADXDatabase": "[Azure ADX Database Name]",
    "ADXTable": "[Azure ADX Table Name]",
    "APIURL": "[API URL]",
    "CacheTimeout":1000
  },
...
Next, I created a new StormEventclass for my ADX data.
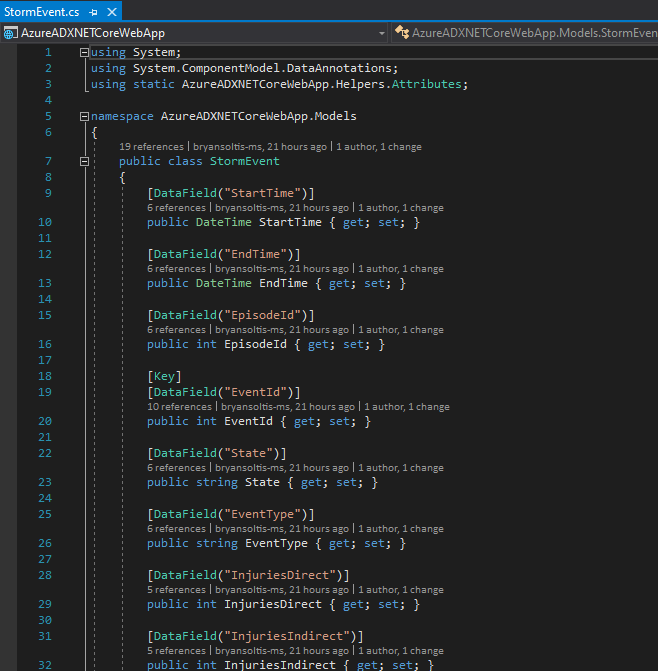
I created a DataHelperclass to contain all my ADX interaction functionality.
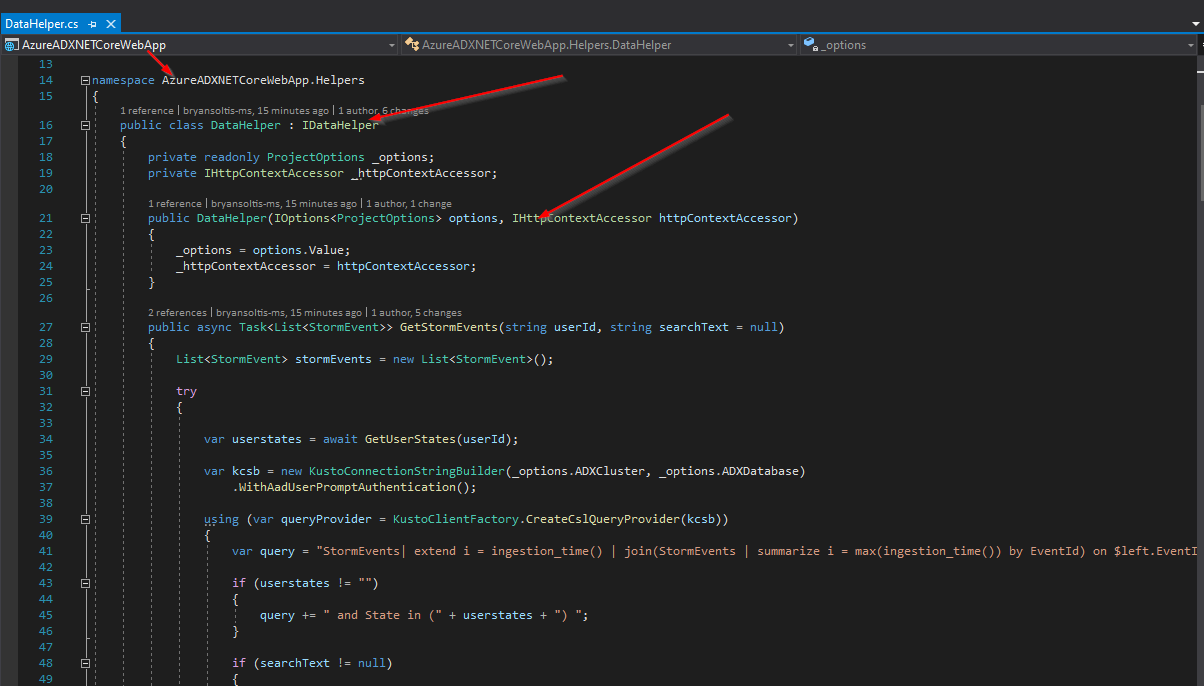
Adding ADX Functionality
The DataHelperclass contains the Kusto SDK code to interact with ADX. To retrieve a list of storm events, I execute the following Kusto.Data code in the GetStormEvents function.
public async Task<List<stormevent>> GetStormEvents(string userId, string searchText = null)
        {
            List<stormevent> stormEvents= new List<stormevent>();
            try
            {
                var userstates = await GetUserStates(userId);
                var kcsb = new KustoConnectionStringBuilder(_options.ADXCluster, _options.ADXDatabase)
                    .WithAadUserPromptAuthentication();
                using (var queryProvider = KustoClientFactory.CreateCslQueryProvider(kcsb))
                {
                    var query = "StormEvents| extend i = ingestion_time() | join(StormEvents | summarize i = max(ingestion_time()) by EventId) on $left.EventId == $right.EventId and $left.i ==$right.i | sort by StartTime desc | take 100 | where isnotnull(EventId)";
                    if (userstates != "")
                    {
                        query += " and State in (" + userstates + ") ";
                    }
                    if (searchText != null)
                    {
                        query += " and * has '" + searchText + "'";
                    }
                    // It is strongly recommended that each request has its own unique
                    // request identifier. This is mandatory for some scenarios (such as cancelling queries)
                    // and will make troubleshooting easier in others.
                    var clientRequestProperties = new ClientRequestProperties() { ClientRequestId = Guid.NewGuid().ToString() };
                    using (var reader = queryProvider.ExecuteQuery(query, clientRequestProperties))
                    {
                        while (reader.Read())
                        {
                            StormEvent se = ReflectPropertyInfo.ReflectType<stormevent>(reader);
                            stormEvents.Add(se);
                        }
                    }
                }
            }
            catch
            {
            }
            return stormEvents;
        }
In the UpdateStormEvent, I use the Kusto.Ingest library to insert my new data.
public async Task<bool> UpdateStormEvent(string update)
        {
            try
            {
                var kcsb = new KustoConnectionStringBuilder(_options.ADXCluster, _options.ADXDatabase)
                    .WithAadUserPromptAuthentication();

                using (var queryProvider = KustoIngestFactory.CreateDirectIngestClient(kcsb))
                {
                    // Ingest from a file according to the required properties
                    var kustoIngestionProperties = new KustoQueuedIngestionProperties(databaseName: _options.ADXDatabase, tableName: _options.ADXTable)
                    {
                        // Setting the report level to FailuresAndSuccesses will cause both successful and failed ingestions to be reported
                        // (Rather than the default "FailuresOnly" level - which is demonstrated in the
                        // 'Ingest From Local File(s) using KustoQueuedIngestClient and Ingestion Validation' section)
                        ReportLevel = IngestionReportLevel.FailuresAndSuccesses,
                        // Choose the report method of choice. 'Queue' is the default method.
                        // For the sake of the example, we will choose it anyway.
                        ReportMethod = IngestionReportMethod.Queue,
                        Format = DataSourceFormat.json
                    };
                    StreamDescription sd = new StreamDescription
                    {
                        SourceId = Guid.NewGuid(),
                        Stream = GenericHelper.GenerateStreamFromString(update)
                    };
                    await queryProvider.IngestFromStreamAsync(sd, kustoIngestionProperties);
                }
                return true;
            }
            catch
            {
                return false;
            }
        }
The magic of this code is it leverages ADX’s ability to store MANY records, inserting a new record for every update. The ingestion_time() value is key, as each new record will have a datetime stamp. The query will sort the ADX data by this value for any EventId and always pull the latest.

NOTE
I also added code to filter by the user’s oid (returned from the Azure B2C authentication), if needed. I created a sample API to return a list of states associated with the user’s oid and filtered the list of storm events for those states. If the APIURL value is supplied in the appsettings.json, the project will access the API, pass it the user’s oid, and return a list of states assigned to the user. The ADX data will then be filtered on those states.
The Kusto query code could definitely be optimized, but the following worked for the purpose of my POC.
var query = "StormEvents| extend i = ingestion\_time() | join(StormEvents | summarize i = max(ingestion\_time()) by EventId) on $left.EventId == $right.EventId and $left.i ==$right.i | sort by StartTime desc | take 100 | where isnotnull(EventId)";
                    if (userstates != "")
                    {
                        query += " and State in (" + userstates + ") ";
                    }
Creating a UI
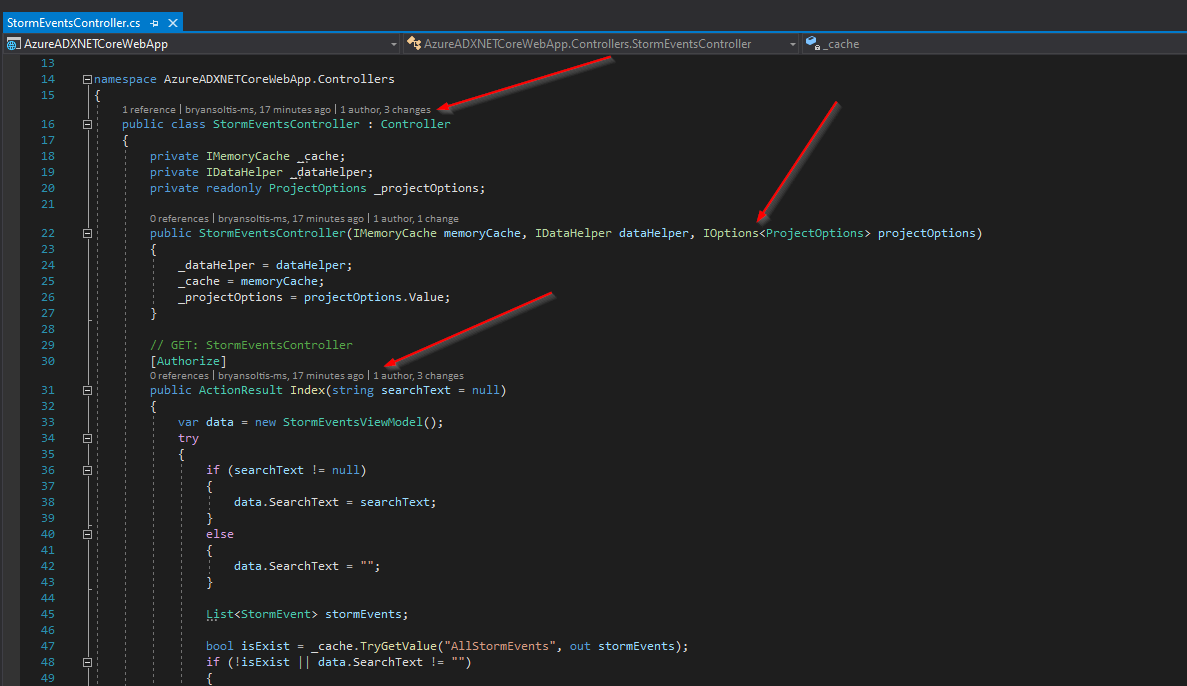
With the logic in place, I was ready to create my UI. I created a new StormEventsController class, using the scaffolding feature. In the controller, I used Dependency Injection to load an instance of MemoeryCache, DataHelper, and ProjectOptions.
I created Index, Details, and Editviews, along with a StormEventsViewModeland StormEventViewModelclasses.
I leveraged the MemoryCache library to cache the ADX data, if it’s unchanged. This reduced my calls to ADX and improved performance.
List<stormevent> stormEvents;

                bool isExist = _cache.TryGetValue("AllStormEvents", out stormEvents);
                if (!isExist || data.SearchText != "")
                {
                    stormEvents= _dataHelper.GetStormEvents(User.FindFirst("http://schemas.microsoft.com/identity/claims/objectidentifier").Value, searchText).Result;
                    var cacheEntryOptions = new MemoryCacheEntryOptions()
                        .SetSlidingExpiration(TimeSpan.FromSeconds(_projectOptions.CacheTimeout));

                    if (stormEvents.Count > 0)
                    {
                        _cache.Set("AllStormEvents" + searchText, stormEvents, cacheEntryOptions);
                    }
                    else
                    {
                        data.Message = "No records found.";
                    }
                }
                else
                {
                    stormEvents= (List<stormevent>)_cache.Get("AllStormEvents" + searchText);
                }
You can learn more about Caching in .NET Core here:
Cache in-memory in ASP.NET Core | Microsoft Docs
Lastly, I added the Authorize attribute to my actions, to force the user to authenticate with Azure B2C prior to access.
// GET: StormEventsController
        [Authorize]
        public ActionResult Index(string searchText = null)
Testing
With all the pieces in place, I was ready to test my code.
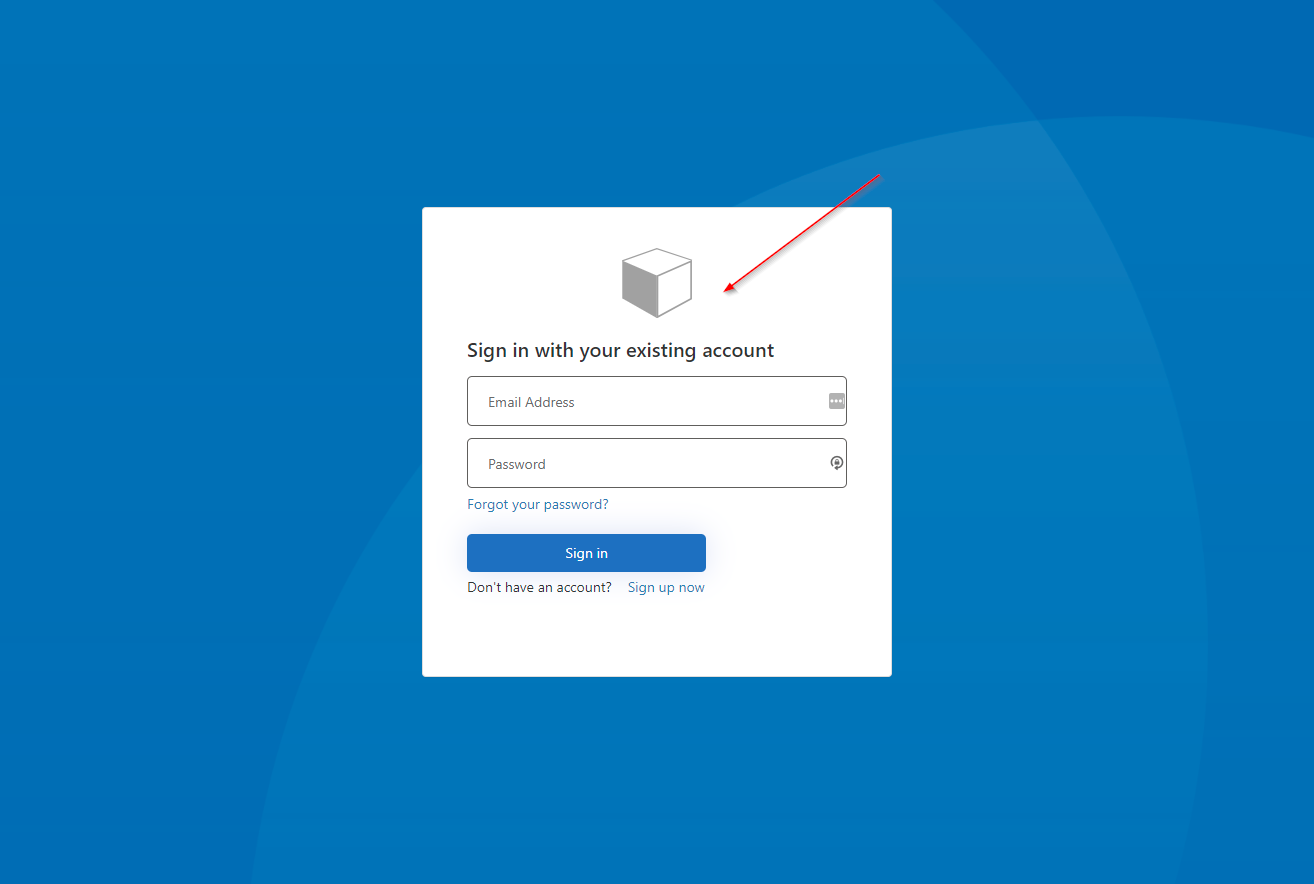
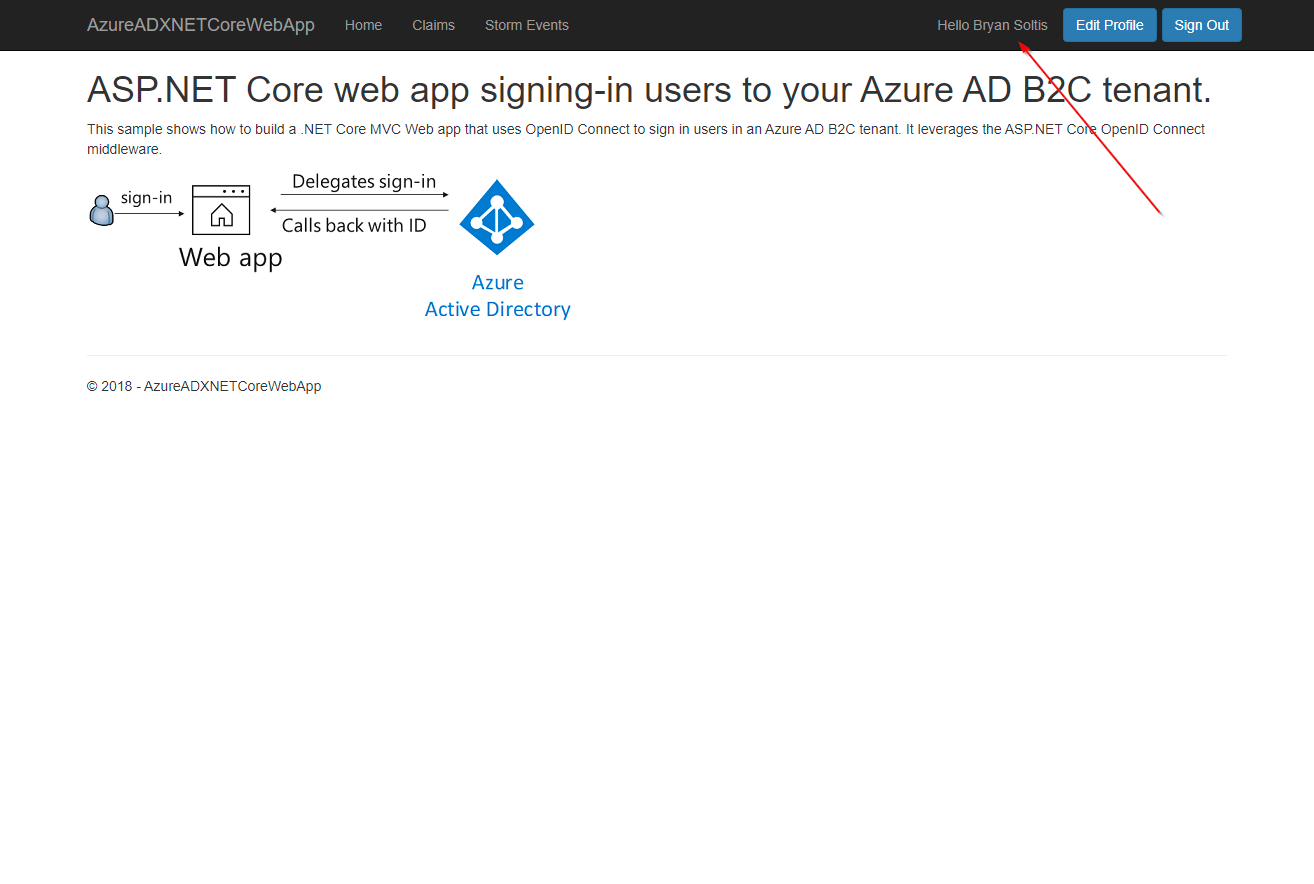
First, I started the site and confirmed I was directed to Azure B2C to authenticate.
After logging in, I confirmed my profile was loaded within the site.
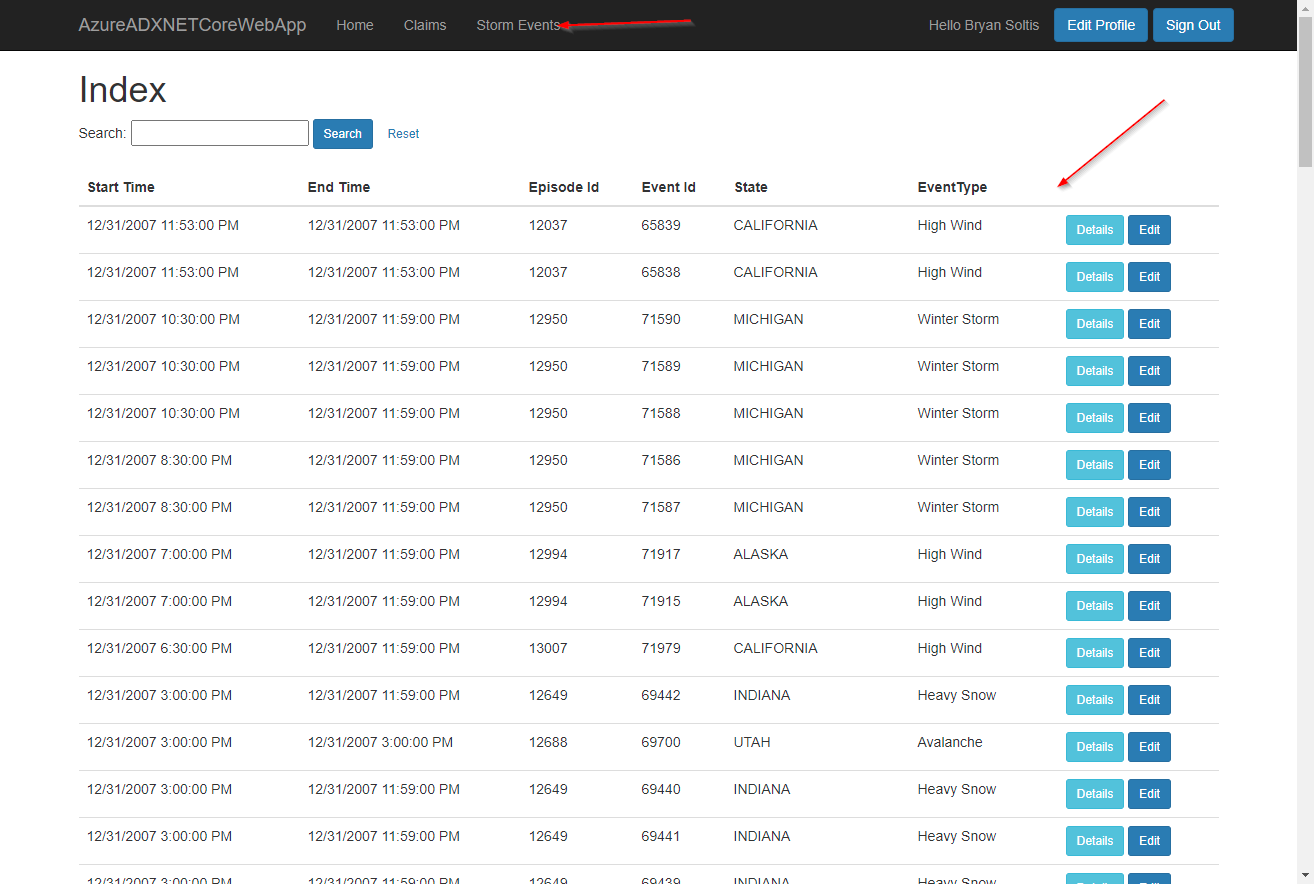
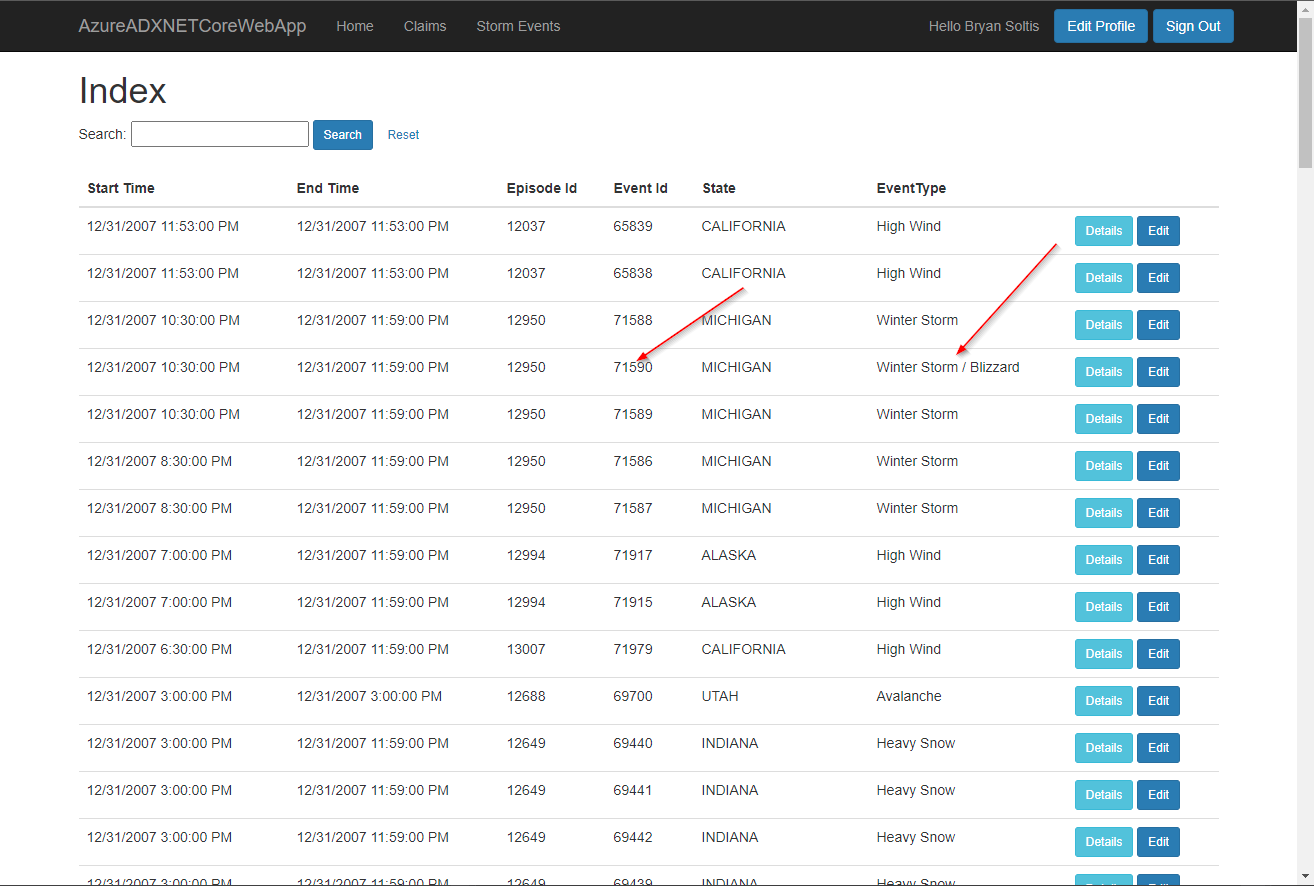
Next, I accessed the Storm Events page and confirmed the data was loaded.
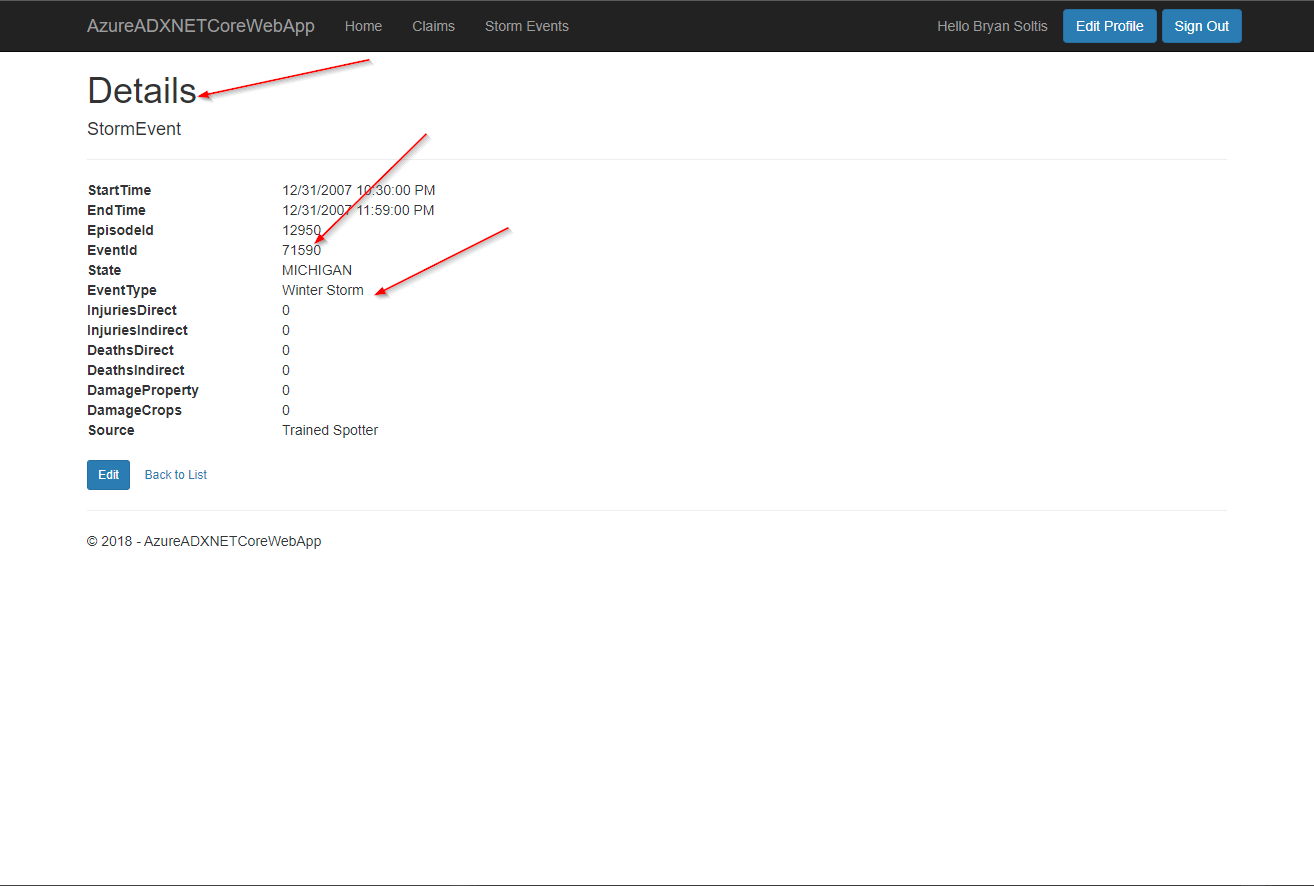
I selected a record to view the details.
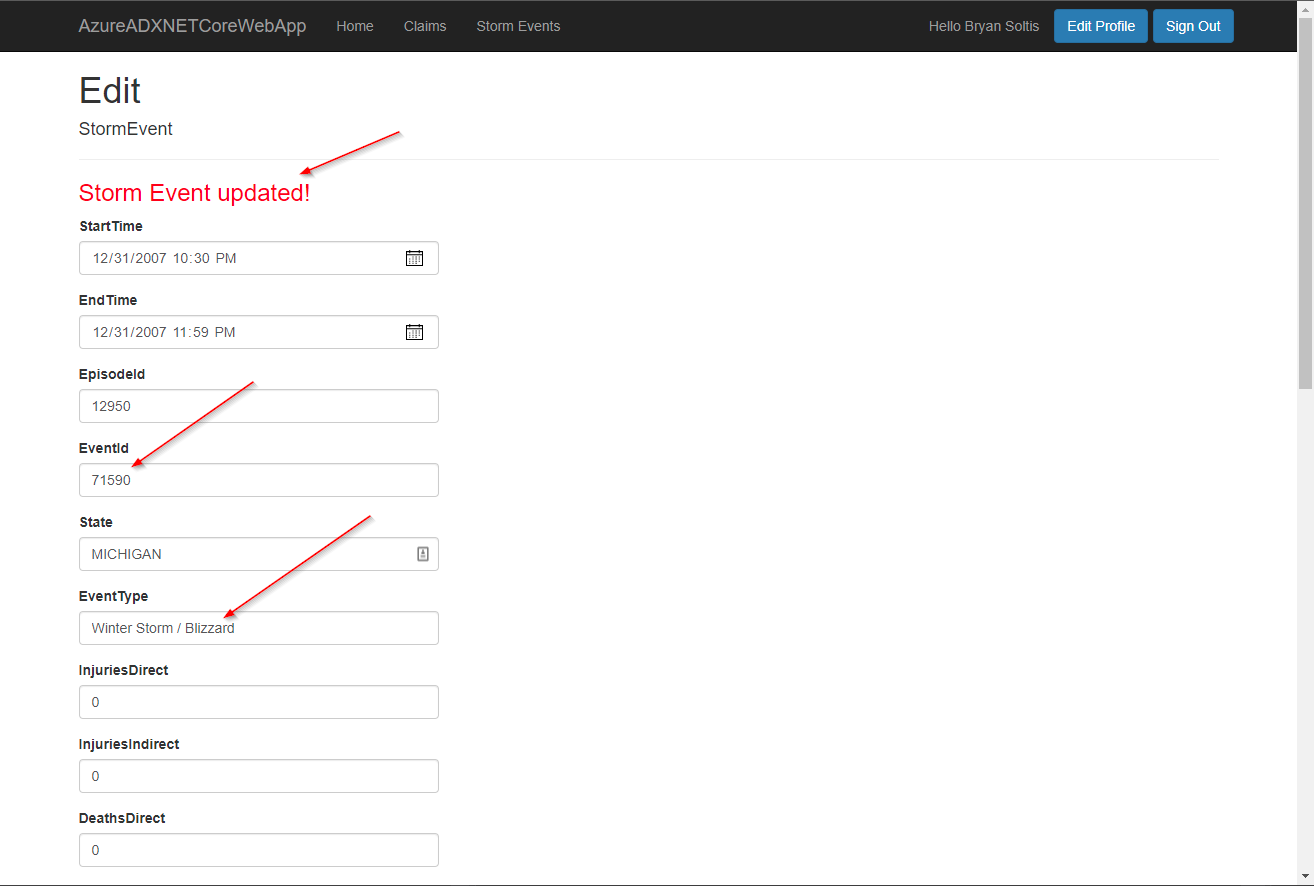
I selected Edit to update the data.
Lastly, I viewed the full list and confirmed my updates were applied.
Bonus
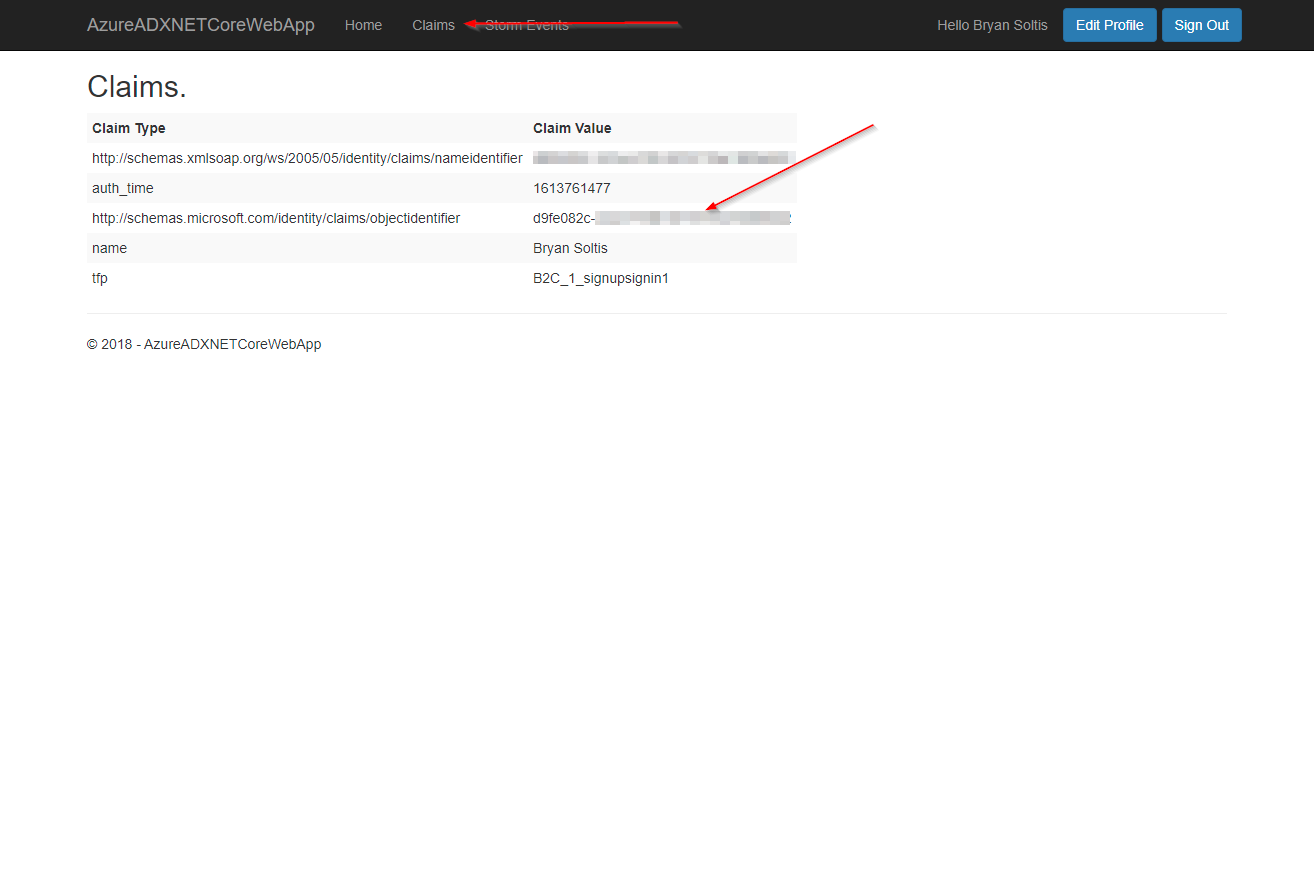
The Azure B2C template includes a Claims view to allow you to see all the claims returned by Azure B2C. This can be very helpful in building a personalized experience for your users. This is also the collection I pulled from for sending the user’s oid to my API.
Wrapping Up
In this article, I wanted to show how you can create a custom .NET Core web app to access and manage ADX data. For additional demonstration, I showed how to authenticate with Azure B2C, leverage Dependency Injection and Caching, as well as integrate with a custom API for filtering. I hope you will check out the GitHub repo for the full code and try it out yourself. Good luck!