


In Azure DevOps, Pipelines come in 2 flavors: Build and Release. Build Pipelines are how your code is compiled, tested, and packaged. Release Pipelines are about deploying that code to your environments. Azure has all sorts of integrations to help both your Build and Release Pipelines run smoothly, while allowing you implement you own checks and gates along the way. Whether you need to scan for credentials, test your integrations, adhere to policy, or any other custom step, you can do it all with Pipelines.
Maybe you have a large collection of projects (let’s say 100) and need a specific virus check that must be done for every deployment. You can easily add the steps to your Pipelines to make sure all your projects are ready to go. Awesome. Case closed.
Just open all 100 projects.
Simply edit 100 different release pipelines.
Manually.
Not very fun sounding, is it?
Don’t worry, Pipeline Decorators are here to simplify your life.
Pipeline Decorators allow you to define a core set of steps and have them be executed for every project in your organization. Every Azure DevOps Pipeline is just a series of commands that are executed when a build or release happens. These commands consist of a series of YAML sections, defining what extension to call, and any variables/parameters that need to be set. These commands collectively make up the YAML file that defines the pipeline.
Pipeline Decorators are essentially a section of the YAML file that will be executed for every pipeline. The Decorator package contains a YAML file, outlining what steps are going to be processed. This package is registered as a custom extension, with a specific target (type of extension setting) that tells Azure DevOps it is a Pipeline Decorator definition.
To get started with Pipeline Decorators, you first need to create an extension. Here is a link to walk you through the process.
Use a decorator to inject steps into a pipeline
To summarize:
Once you create your initial extension, you are ready to add your custom steps. Because these steps are defined as YAML, I found it easiest to edit your Azure DevOps Build Pipeline with your steps via the portal, then copy that code to your decorator YAML file.
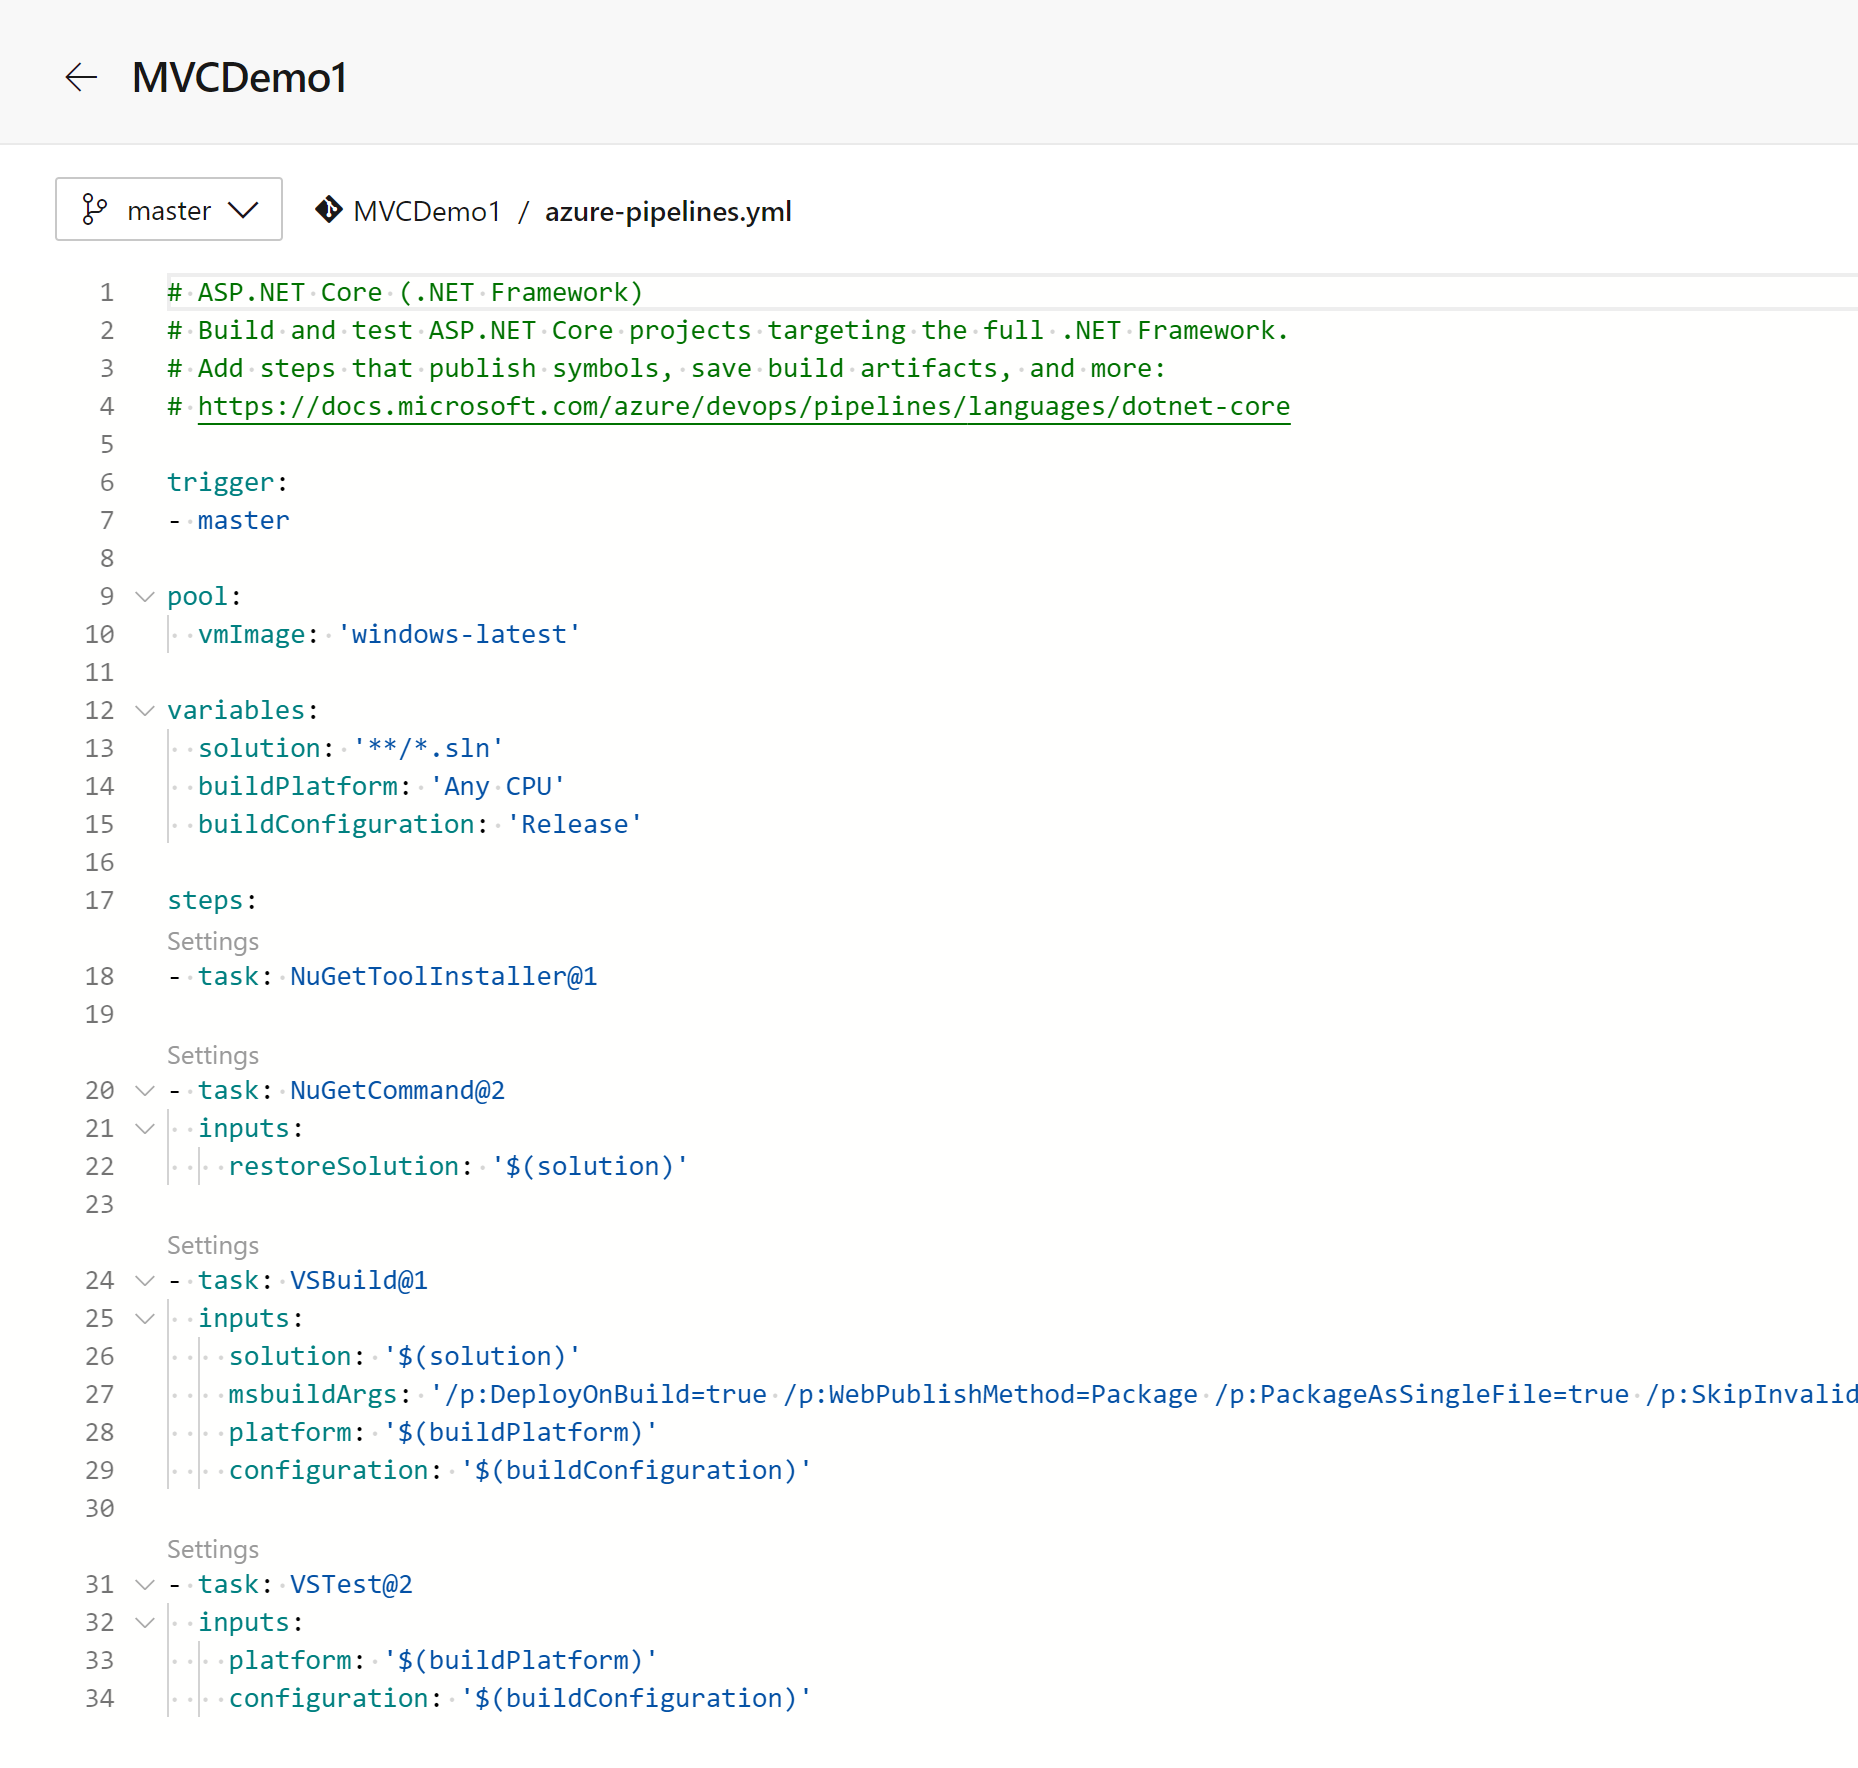
Here is my basic Build Pipeline.
I’ll add a pipeline step, using the YAML editor. You could write your YAML from scratch if you are into that sort of thing. I found that using the editor is much faster and helps me make sure my spacing/formatting is correct.
In my case, I want to add a CredScan to each pipeline, to make sure all projects are secure.
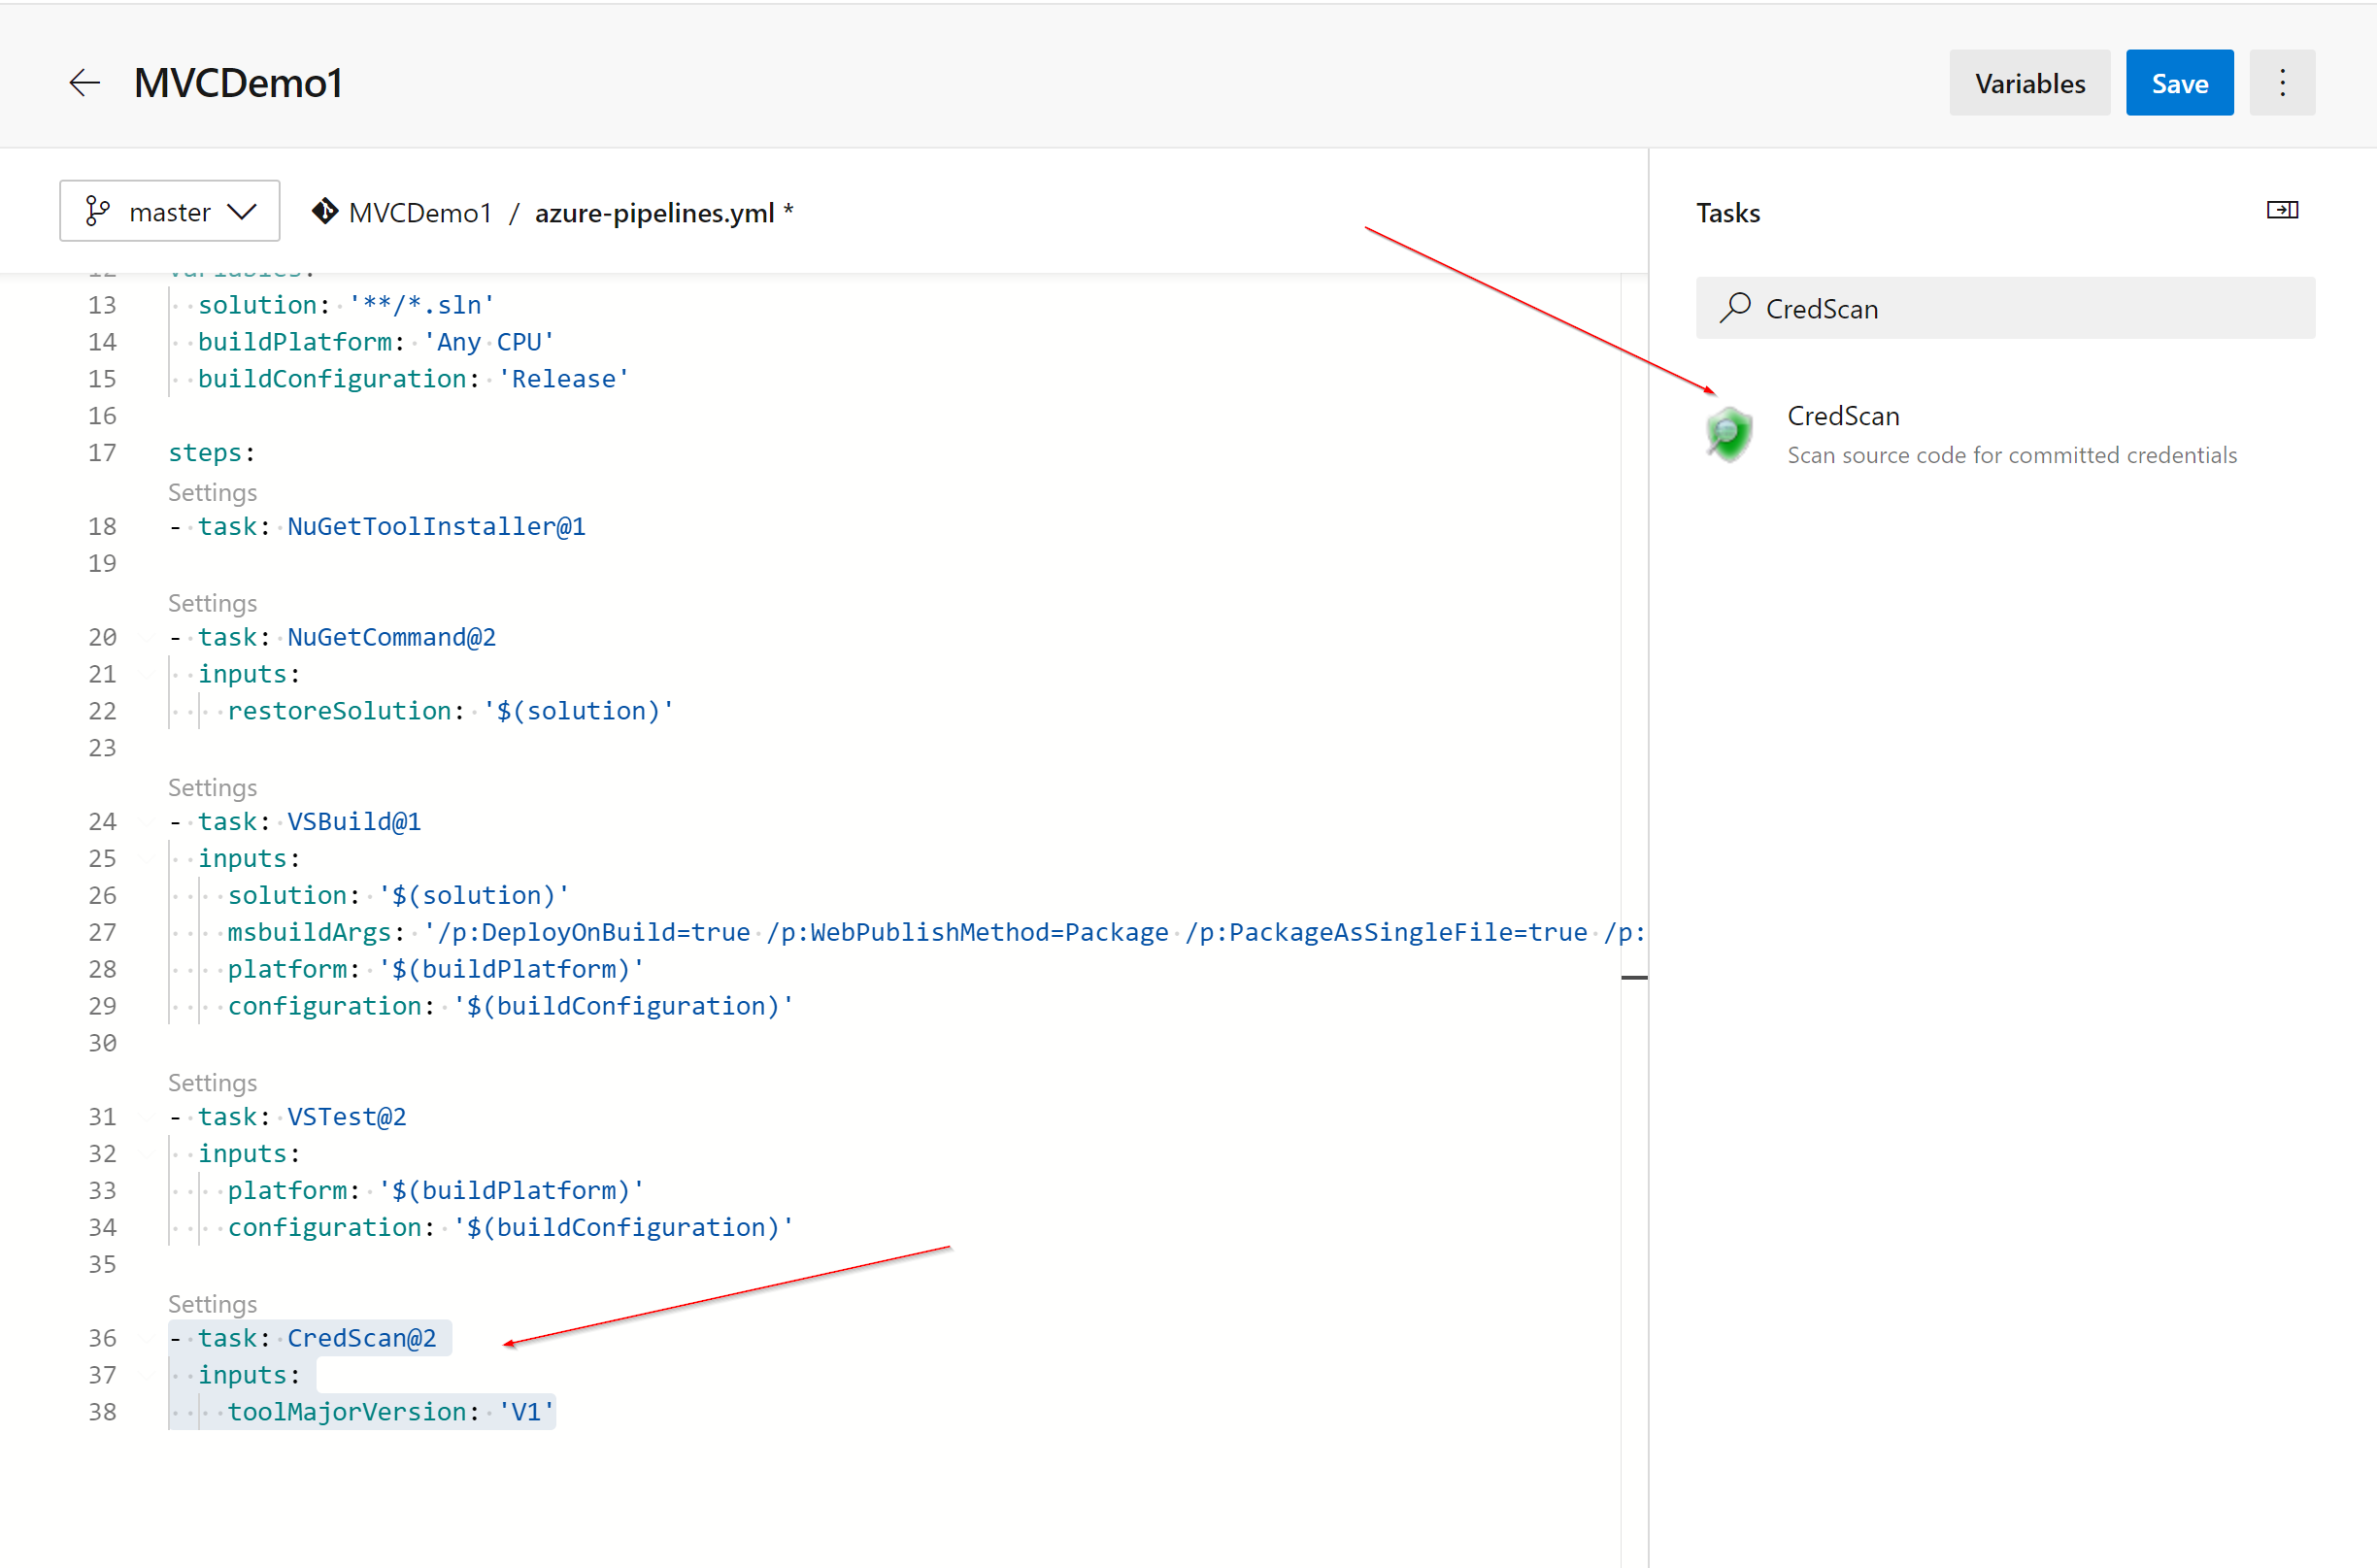
In my YAML, you can see the new step I added. This is the code I’ll want to copy to my Decorator YAML file.
- task: CredScan@2
inputs:
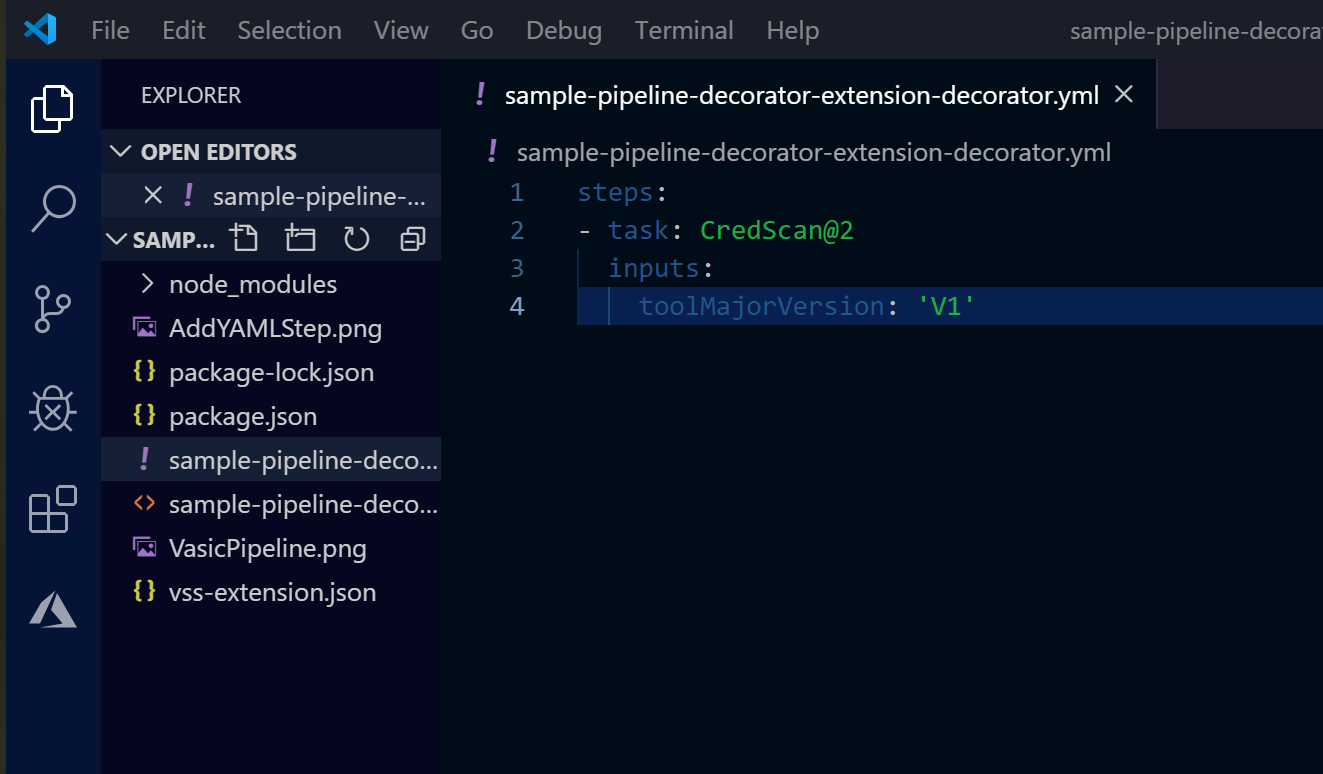
toolMajorVersion: 'V1' In my Decorator YAML, I add the copied text. If you are following along, be sure you keep your spacing correct! YAML is strict when it comes to spacing and formatting, so be sure to pay attention to your code.
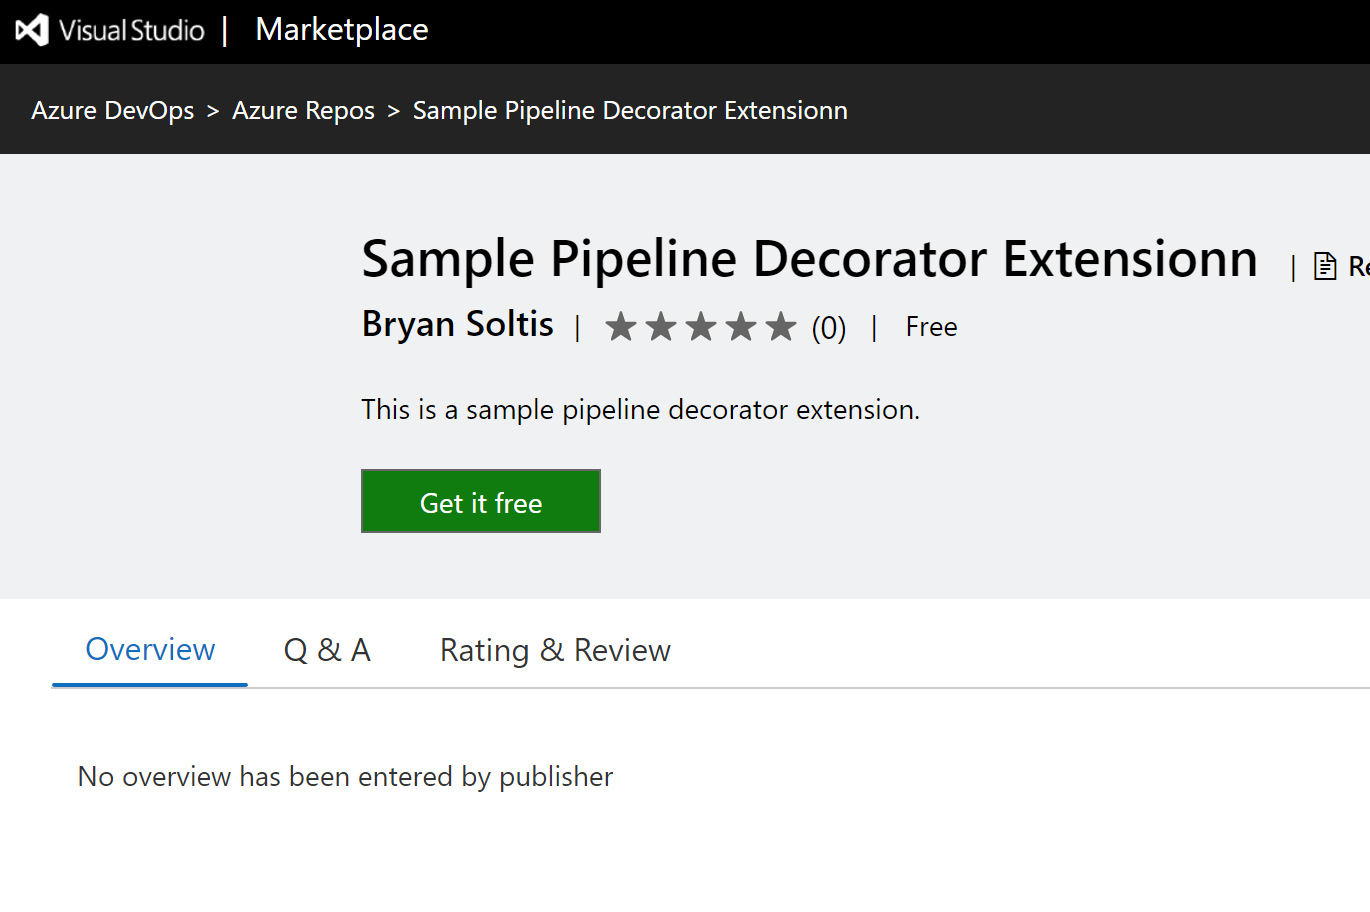
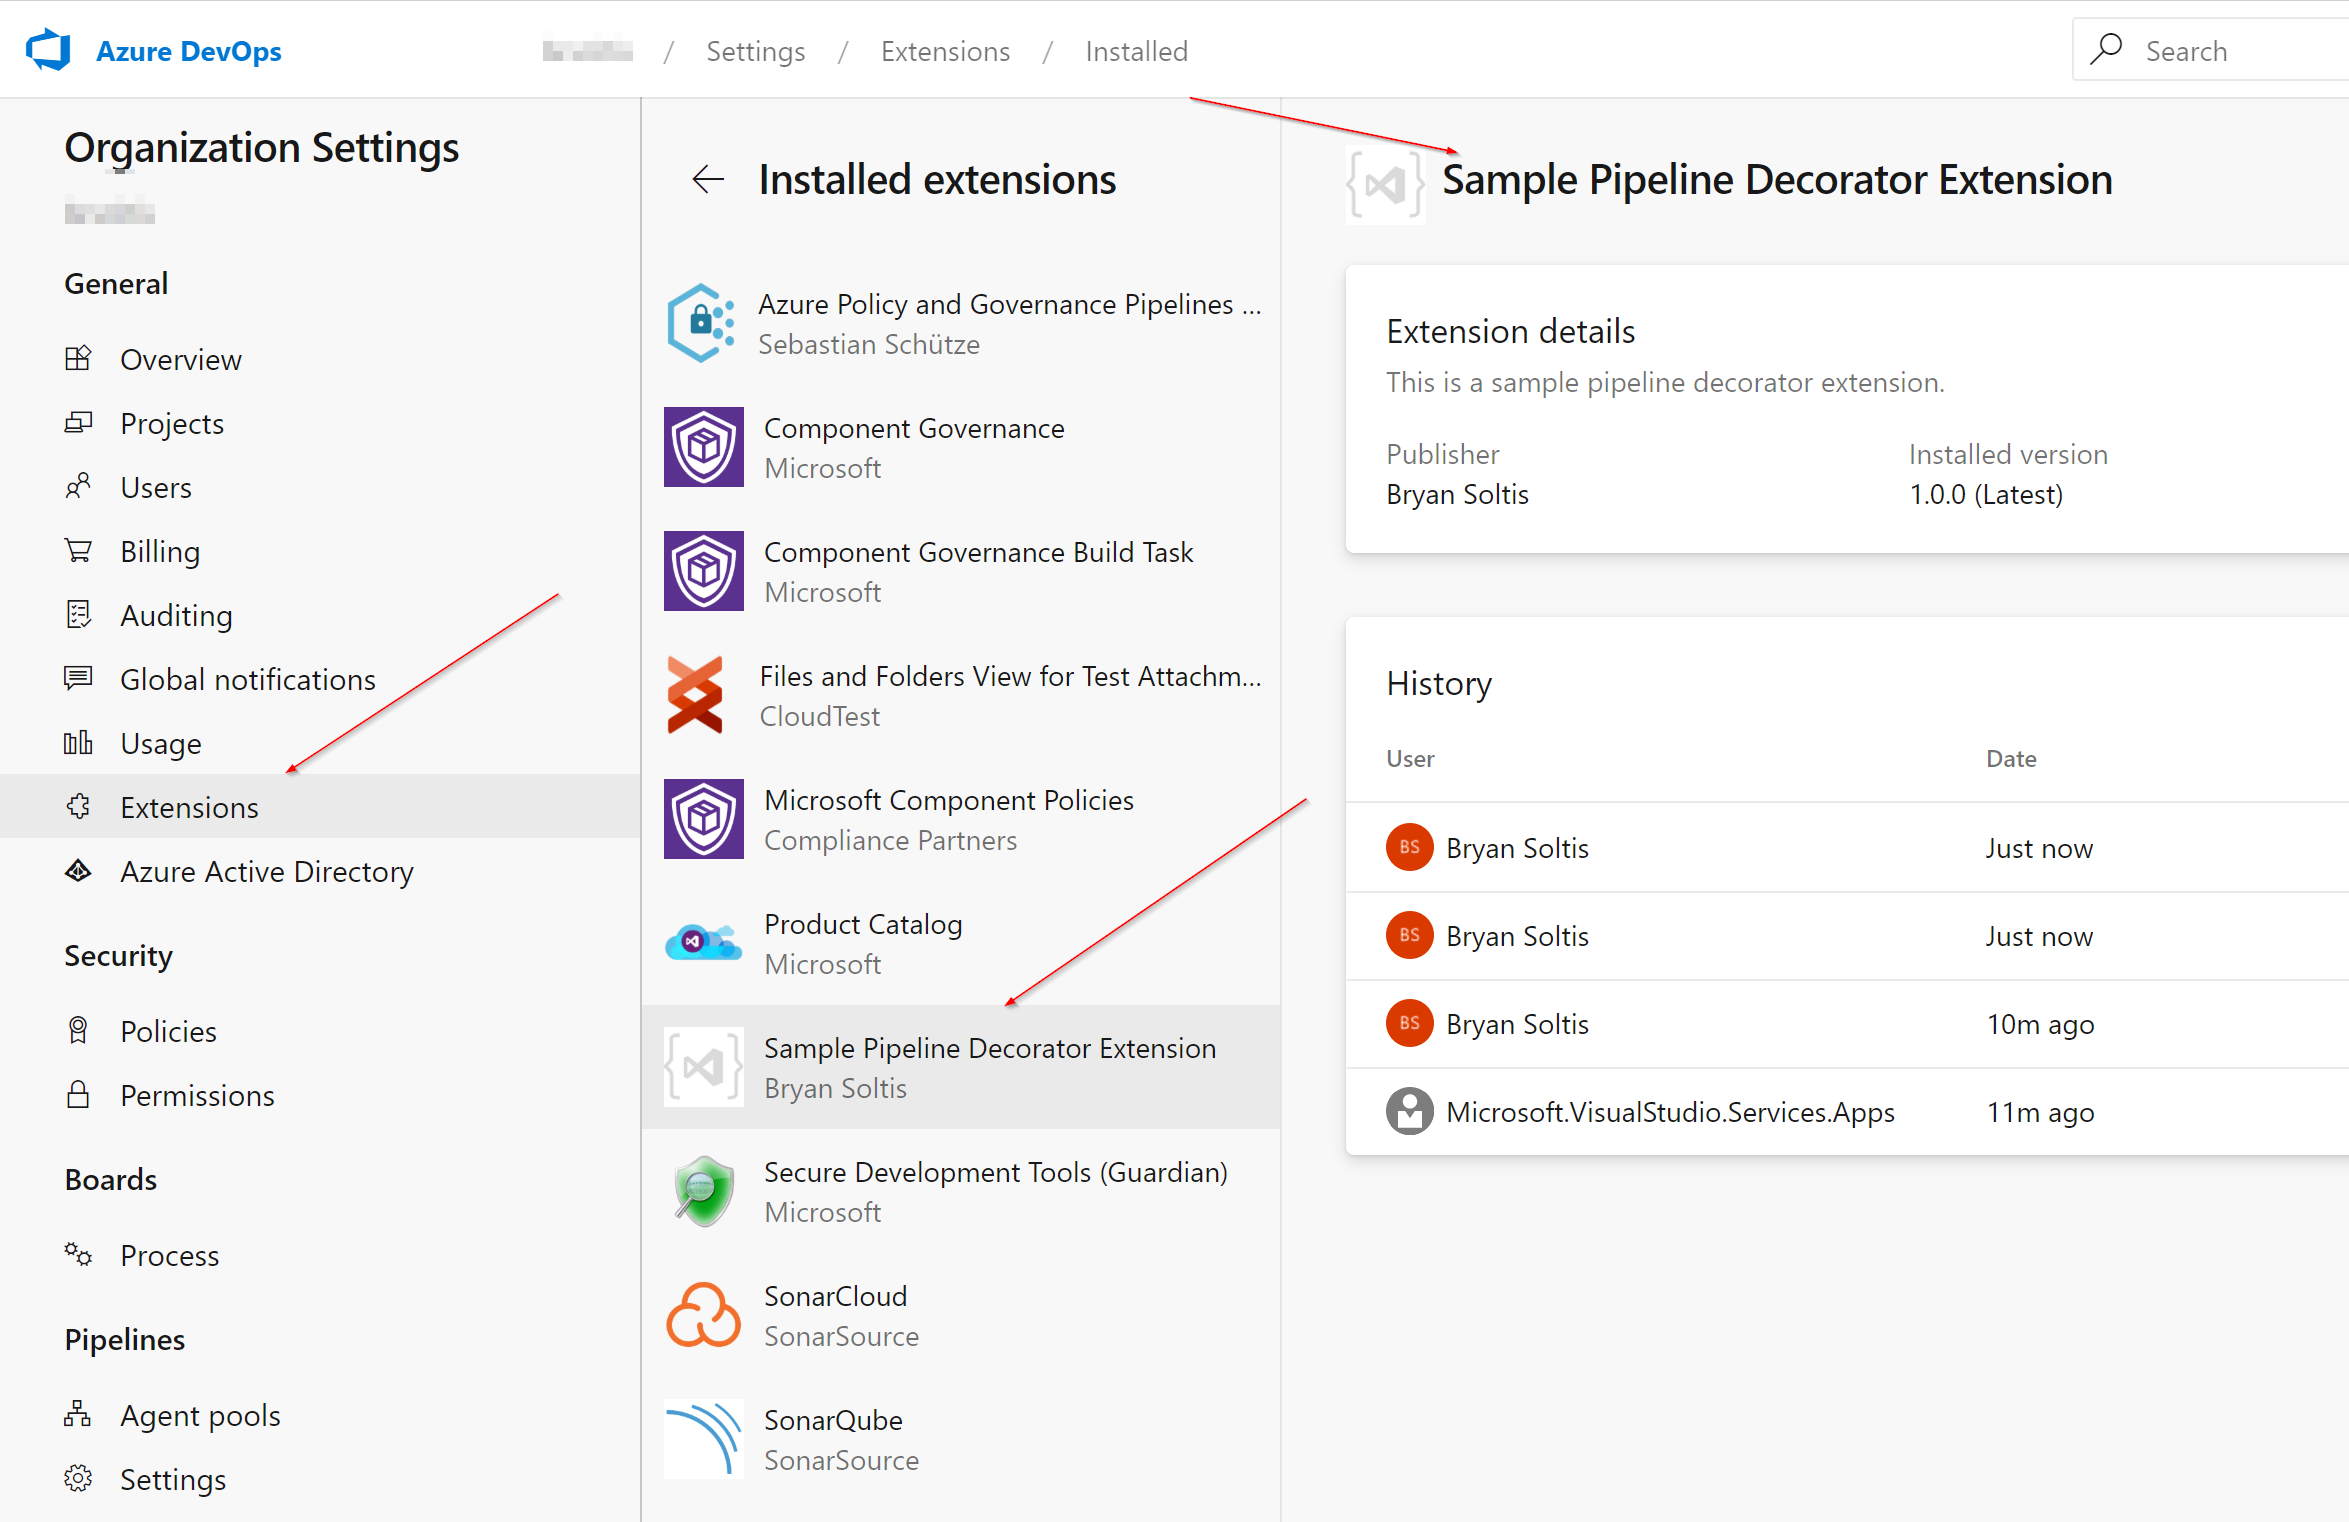
After updating my decorator, I package my extension and upload it to the Azure DevOps Marketplace.
I then register it with my Azure DevOps organization.
With my extension registered, I am ready to test my steps. In my Build Pipeline, I create a new build. When the build completes, I check out the logs to make sure I see my custom steps. Here you can see where the CredScan step was added after the other pipeline steps.
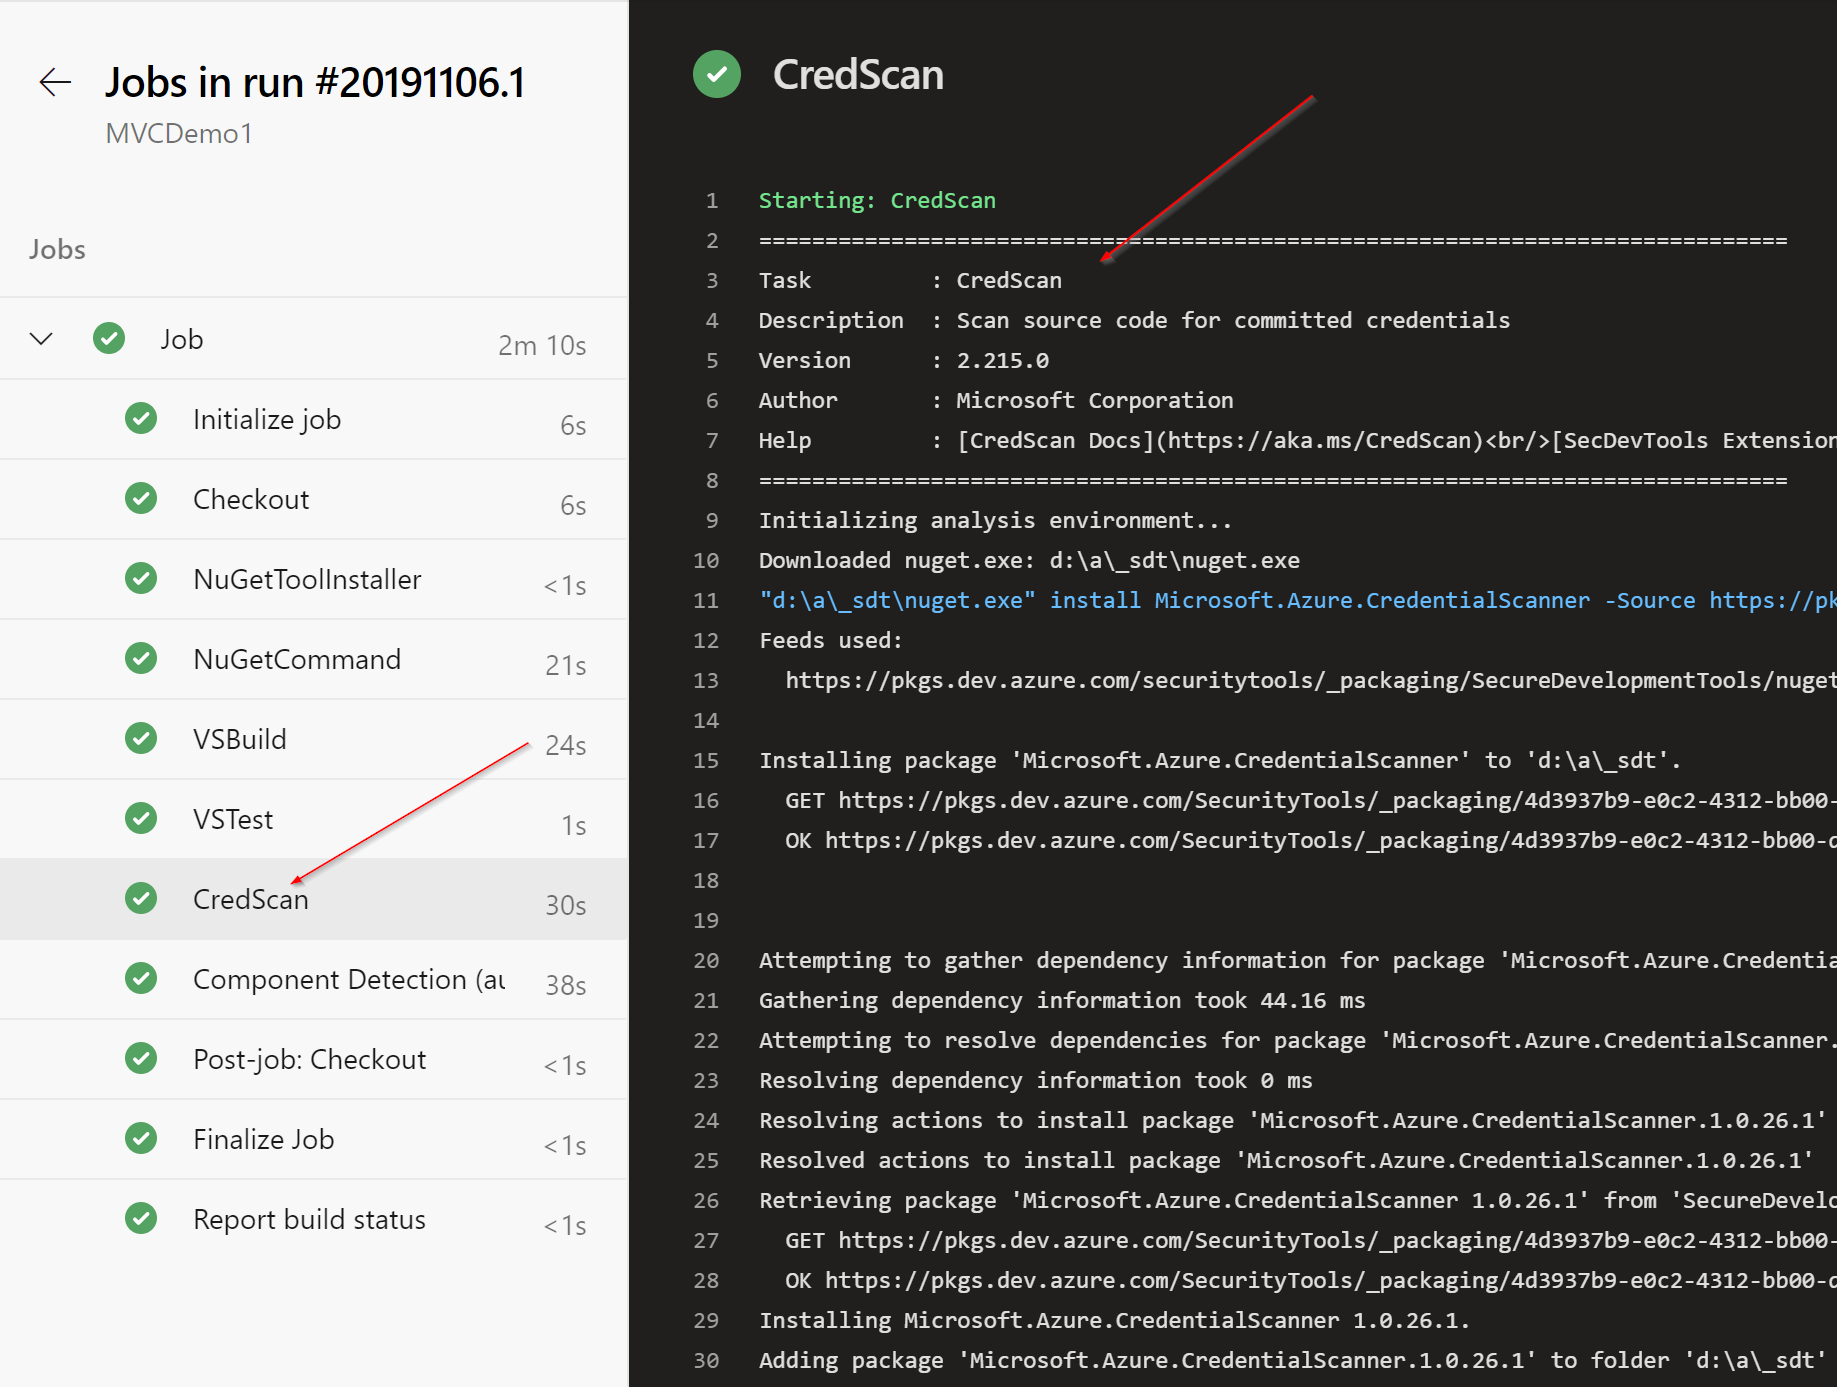
The CredScan appears after the VSTest step. This is the last step in Pipeline definition, and I chose a post Pipeline Decorator definition. Decorators can be executed before or after your pipeline steps.
Because Decorators are based on YAML, you can pretty much use any valid YAML code you want. This means you can add multiple steps, conditions, and use variables inside your decorator extensions. Decorators also have access to contextual information, such as the repository name, jobs details, and others. This allows you to make your decorators much more flexible, allowing you to determine when and how your decorators run. This is especially helpful if you have some pipelines that don’t need the decorator steps executed.
In my YAML, I add code to check a new variable I will use to allow the decorator to not be executed. If it is set, it will allow the decorator steps to be skipped.
steps:
- ${{ if ne(variables['skipDecoratorExecution'], 'true') }}:
    - task: CredScan@2
      inputs:
toolMajorVersion: 'V1' Be sure to check out the available data here.
For more fun, you can add multiple steps to your decorator. In my YAML file, I add in another action, specifically to archive my files as part of the pipeline.
steps:
- ${{ if ne(variables['skipDecoratorExecution'], 'true') }}:
    - task: CredScan@2
      inputs:
        toolMajorVersion: 'V1'
    - task: ArchiveFiles@2
      inputs:
        rootFolderOrFile: '$(Build.BinariesDirectory)'
        includeRootFolder: true
        archiveType: 'zip'
        archiveFile: '$(Build.ArtifactStagingDirectory)/$(Build.BuildId).zip'
        replaceExistingArchive: true
Decorators can contain any number of steps you need. This allows you to define common actions every pipeline requires in a single location and have them injected for every build.
Because I’ve modified my YAML, I need to update & repackage my decorator. To do this, I run the tfx extension create command with the –rev-version attribute. This increments the version and creates a file for the update.
tfx extension create --rev-version
In the Azure DevOps Marketplace, I upload the new extension package.
Once updated, I am ready to test my pipeline. First, I execute the build, as before. When it completes, I confirm that the decorator was executed. Note that there are several steps defined because the decorator now contains multiple actions.

Next, I run the pipeline again, but this time adding a variable to skip the decorator execution. In my Pipeline YAML, Add the skipDecoratorExecution variable.
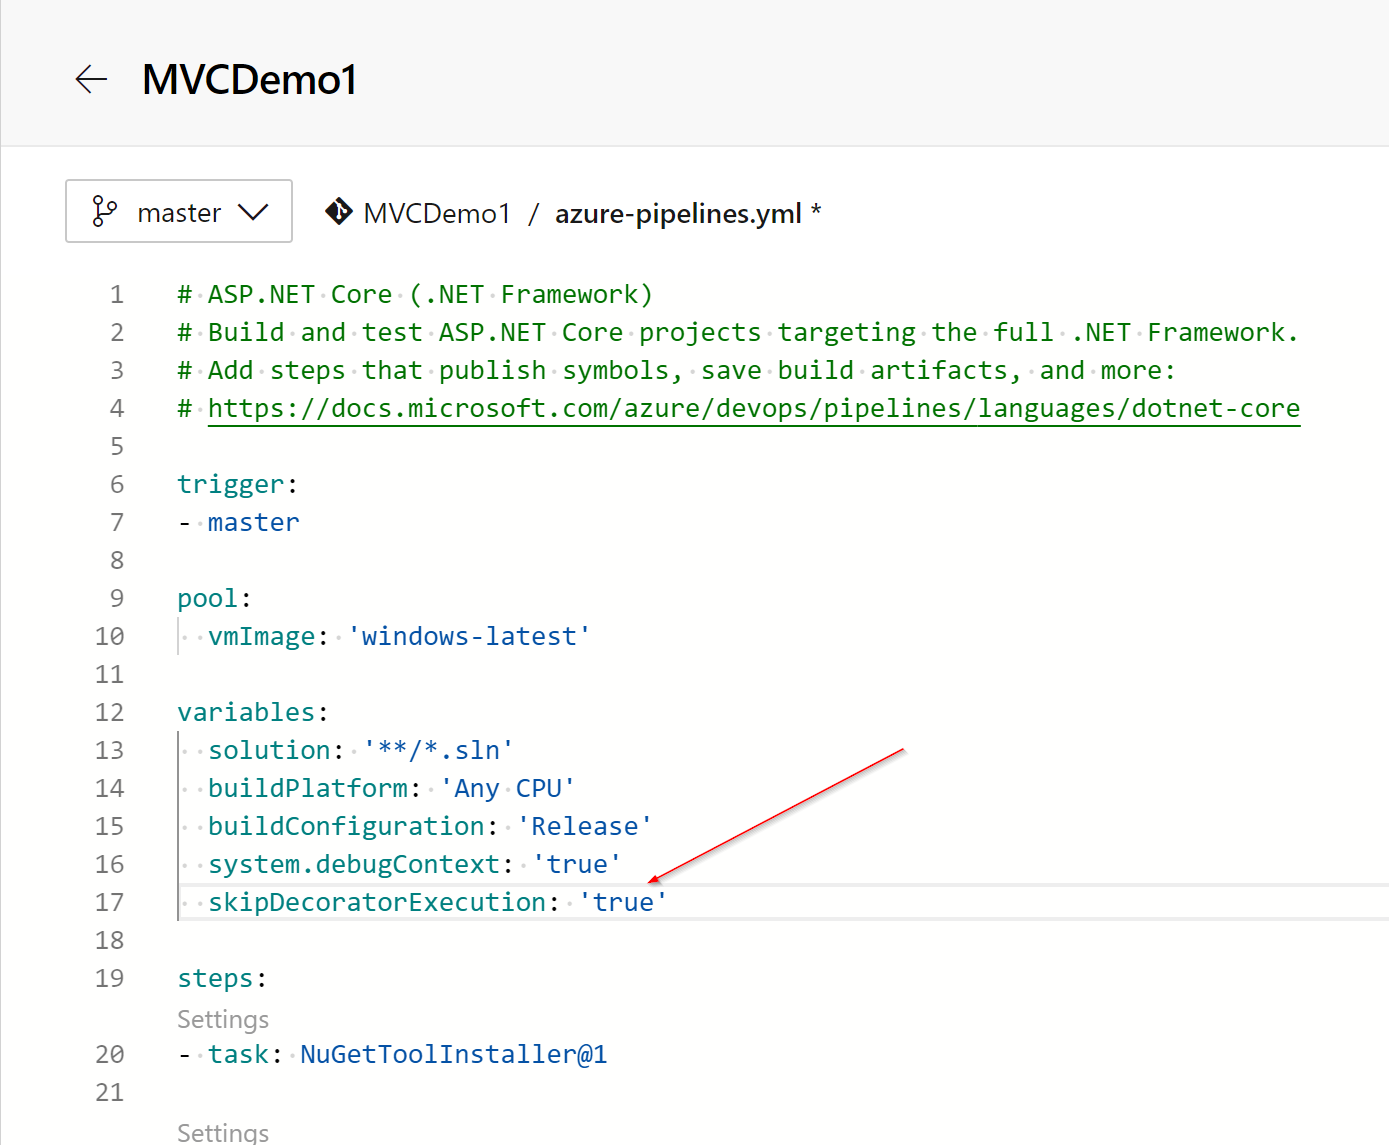
Now, when the pipeline executes, it skips the decorator tasks, because the skipDecoratorExecution variable is set to true.
Pretty awesome, right? Pipeline Decorators allow you to define common actions and apply them across every project. This can allow to enforce security and quality policies for every project, while managing it from a central location. By using YAML conditions and variables, you can customize when and how your decorator steps get injecting. This means you can ensure all your projects are locked down tight and running smoothly. Good luck!
You can view my full decorator code on GitHub.
Pipeline decorator expression context